WordPress: “There Has Been a Critical Error on This Website” – Causes and Solutions
If you’re a WordPress user, you might have encountered the dreaded message: “There has been a critical error on this website.” It’s a distressing moment for anyone managing a WordPress site, but fear not – in this article, we’ll dive into the causes behind this error and explore various solutions to get your website up and running smoothly again.

Understanding the Error
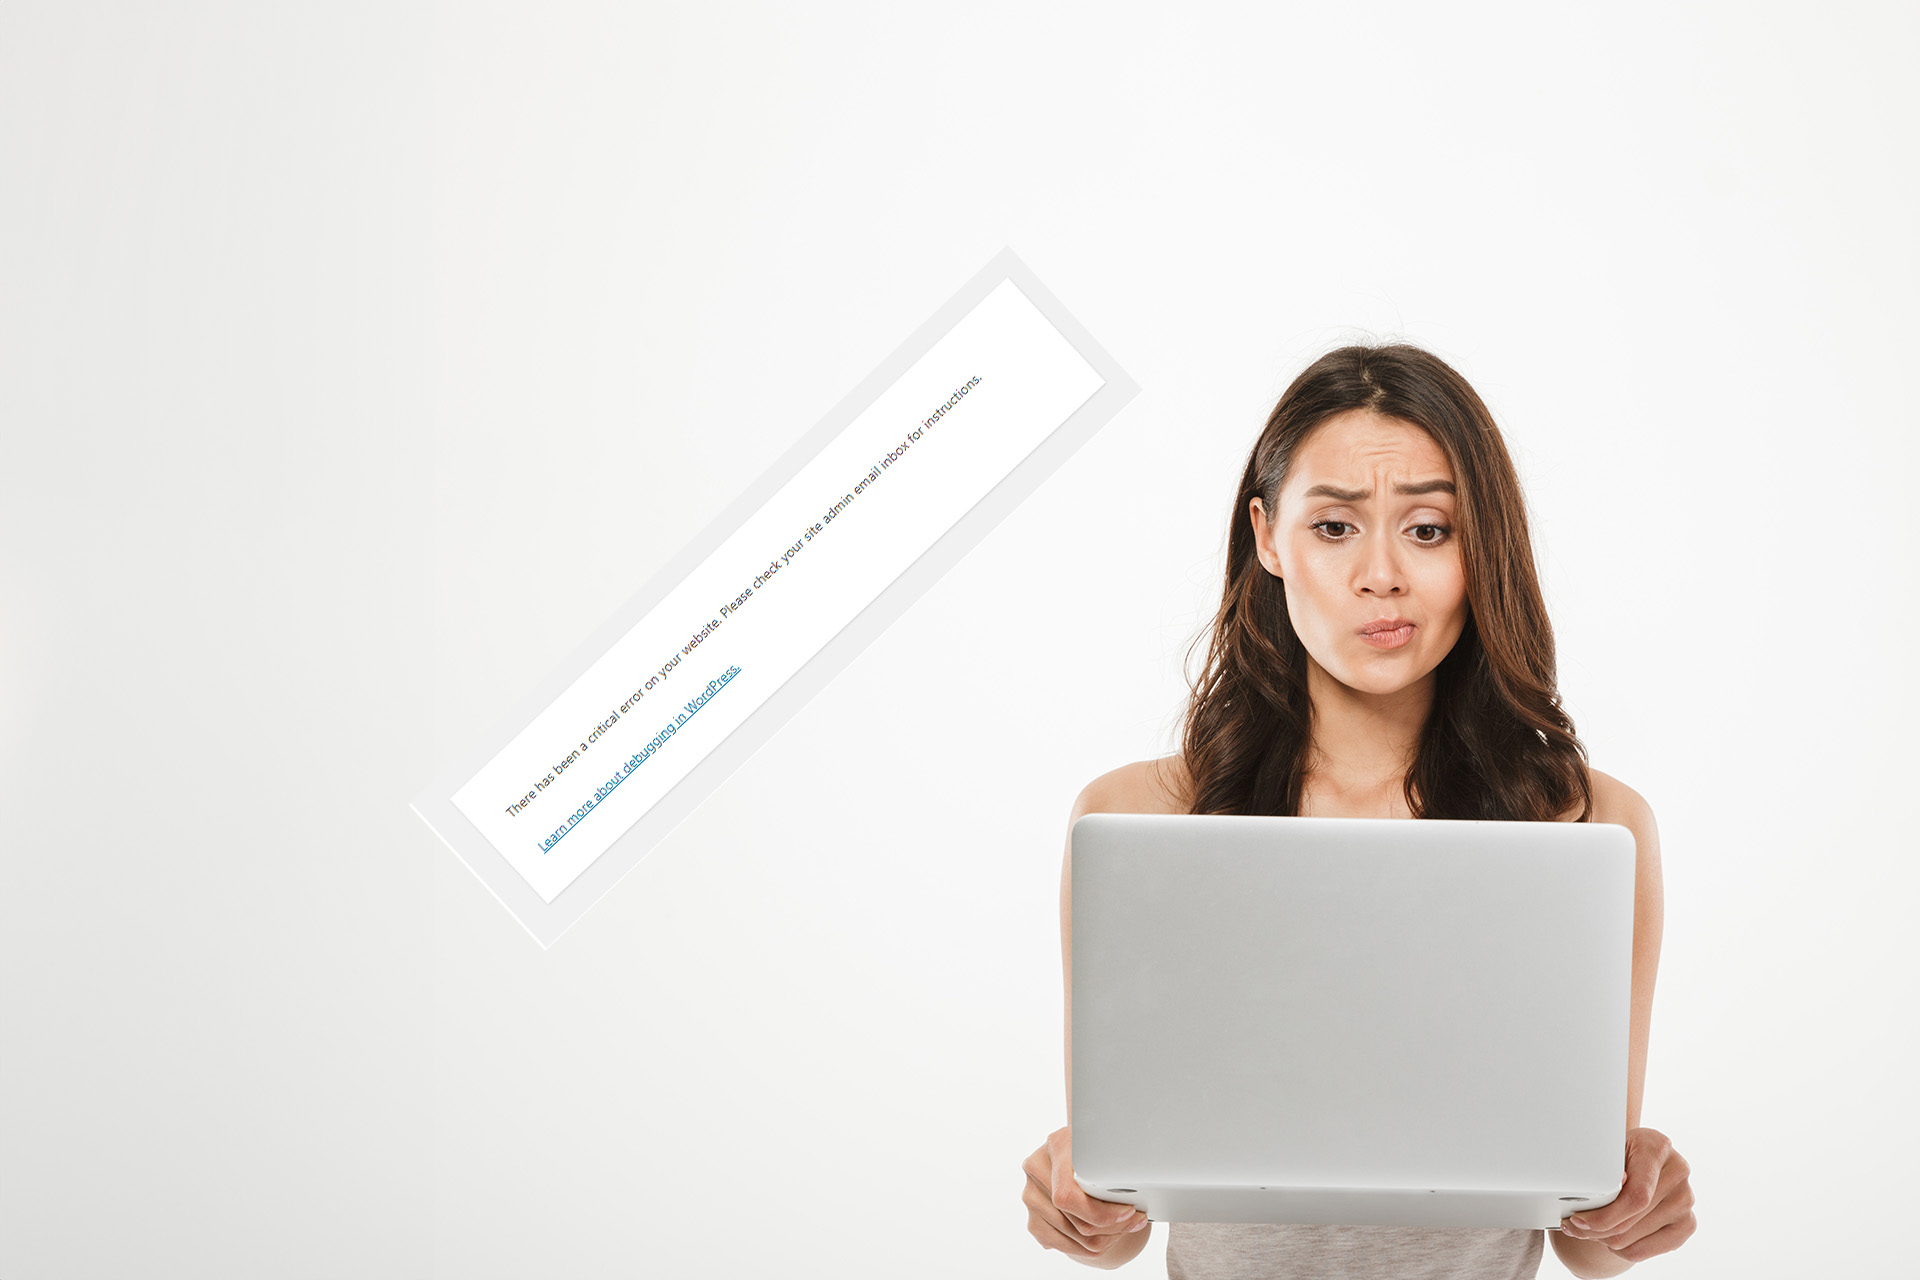
The “critical error” message in WordPress is a generic error message that doesn’t provide specific details about the problem. However, it typically indicates a PHP-related issue that caused a fatal error. These errors can be caused by a variety of factors, and troubleshooting them requires a systematic approach.
Common Causes of Critical Errors
Theme or Plugin Conflict: Incompatibilities between your active theme and installed plugins can lead to critical errors. A recent theme or plugin update might have triggered the problem.
Memory Limit Exhaustion: WordPress relies on server memory, and exceeding the allocated memory limit can result in critical errors. This is often due to resource-intensive plugins or themes.
Corrupted Core Files: Sometimes, core WordPress files can become corrupted due to incomplete updates or malware infections, leading to critical errors.
PHP Version Compatibility: Running an outdated or incompatible PHP version can cause issues with WordPress, including critical errors.
Hacked or Infected Website: Malicious code injected into your website can lead to critical errors as hackers often target vulnerabilities in WordPress.
Enabling Debugging in WordPress
If you’re facing issues with your WordPress website, a helpful first step is to turn on debugging. Debugging allows you to spot any PHP errors happening on your site, helping you pinpoint the root cause of the problem.
In some cases, you might not be able to access your WordPress dashboard, so you’ll also want to activate the debug log. This log will record all PHP errors in a file.
To activate debugging or access the debug log, follow these steps:
Step 1: Connect to your website using FTP.
Step 2: Locate the wp-config.php file in the main folder and open it using a text editor or an Integrated Development Environment (IDE).
Step 3: Add the following code snippet at the end of the file, just before the final message. Then, save and close the file:
define( 'WP_DEBUG', true );

define( 'WP_DEBUG_DISPLAY', false );

define( 'WP_DEBUG_LOG', true );
Debugging is active on your website, and any errors will be saved in a file called debug.log located in the wp-content folder.
Check for the names of your theme or plugins in the log; they might be causing the issues or refer to a particular file. Even if you’re not sure how to fix the problem, save this information somewhere. It can be useful if you seek help later.
Remember to delete these code lines when you’re done with debugging.
Solutions to Fix Critical Errors
Deactivate Plugins
If you suspect a plugin is causing the error, access your WordPress directory via FTP or your hosting’s file manager. Rename the “plugins” folder to “plugins_disabled” to deactivate all plugins. If this resolves the issue, reactivate plugins one by one to identify the culprit.
Switch to a Default Theme
Sometimes, when you encounter a critical error, it could be due to a conflict within your current theme. To check if this is the case, you can temporarily remove your current theme and switch to a default one.
To switch to a default theme, follow these steps:
Step 1: Establish an FTP Connection Begin by connecting to your website via FTP.
Step 2: Navigate to the Theme Directory Go to the “wp-content/themes” directory. Here, you have two options: either rename your current theme folder (which allows you to reactivate the theme later) or delete it altogether.
Step 3: Download and Insert a Default Theme If you don’t already have a backup theme in this folder, manually download the “Twenty Twenty” theme and place its files into the “themes” folder.
Your website should now display the “Twenty Twenty” theme. If it loads correctly, it indicates there was a theme conflict.
To restore your original theme files, you can either reinstall the theme or revert the folder back to its original name.
Increase Memory Limit
You can try increasing your PHP memory limit by editing your wp-config.php file or contacting your hosting provider. While you shouldn’t set the memory limit unreasonably high, as it could allow poorly configured scripts to slow down your website, the default value might be too restrictive. A small increase in your PHP memory limit could swiftly resolve your website’s problems.
Here’s how to do it:
- Use FTP to access your website and open the wp-config.php file.
- Add the following code just before the last line and save it.
define( 'WP_MEMORY_LIMIT', '128M' );Repair Core Files
Reinstalling WordPress can help fix corrupted core files. Ensure you have a backup of your website before proceeding.
To reinstall the core files, follow these steps:
Step 1. Prepare and Backup:
- Back up your entire WordPress website, including files and the database.
- Download the latest WordPress version from https://wordpress.org/download/ and extract it on your computer.
Step 2. Access Website Files:
- Use FTP to connect to your website’s server.
- Locate and access the root directory of your WordPress installation.
Step 3. Replace Corrupted Core Files:
- Delete the “wp-includes” and “wp-admin” folders on your server.
- Upload fresh “wp-includes” and “wp-admin” folders from the extracted WordPress files to your server, overwriting the deleted ones.
Step 4. Verification and Testing:
- Visit your website to ensure it’s working correctly.
- Test various functionalities and features to confirm everything is functioning as expected.
- Keep an eye out for any new errors or issues.
Update PHP
Running an outdated PHP version can lead to site malfunctions and conflicts with other components. Typically, you aim to keep your site up to date with the latest PHP version compatible with WordPress, which currently ranges from PHP 7.3 to 8.0. Upgrade your PHP version to the latest compatible release. Consult your hosting provider for guidance if needed.
Security Audit
Perform a security audit to identify and remove any malware or vulnerabilities. Change all passwords, including those for WordPress, FTP, and your hosting account.
Seek Professional Help
If you’re not comfortable troubleshooting the issue yourself, consider hiring a WordPress developer or a specialised support service to diagnose and fix the error.
Tamas Biro
Tamas is one of the founders of Netzoll, he has a lot of experience in Technical SEO, Web Design and Web Development. Tamas and the Netzoll team are passionate about creating engaging online experiences and are committed to assisting businesses in growing online.